Thursday, July 19, 2007

Objective: Shock and Awe

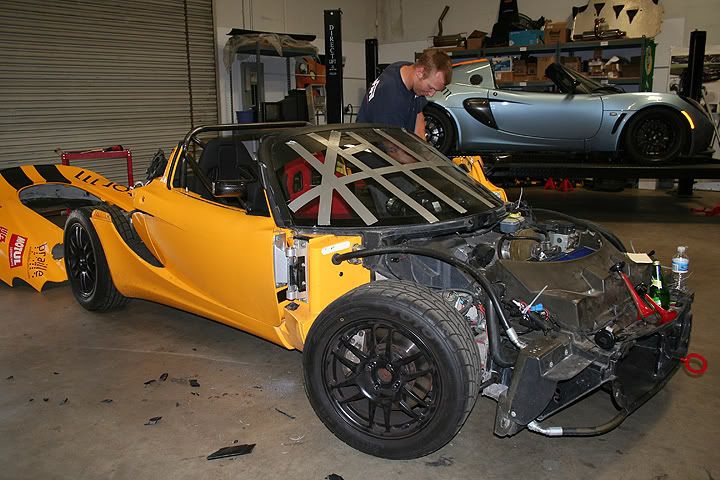
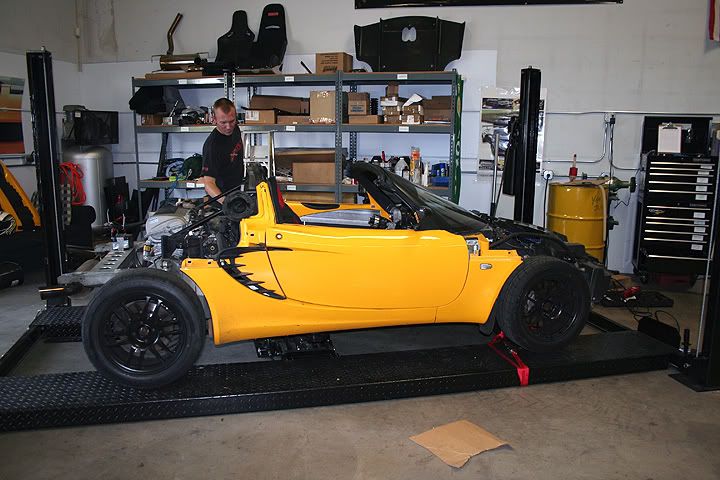
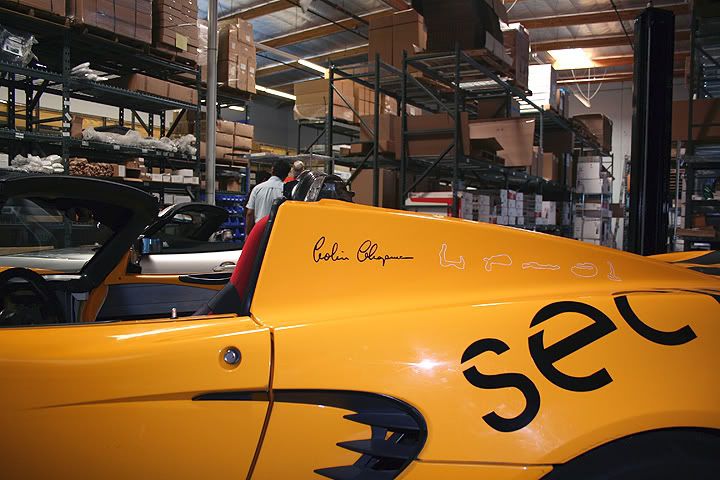
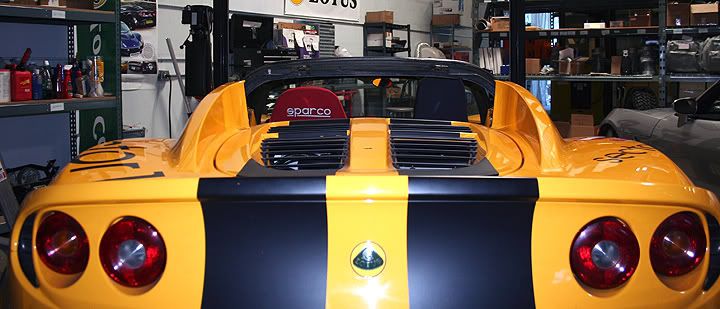
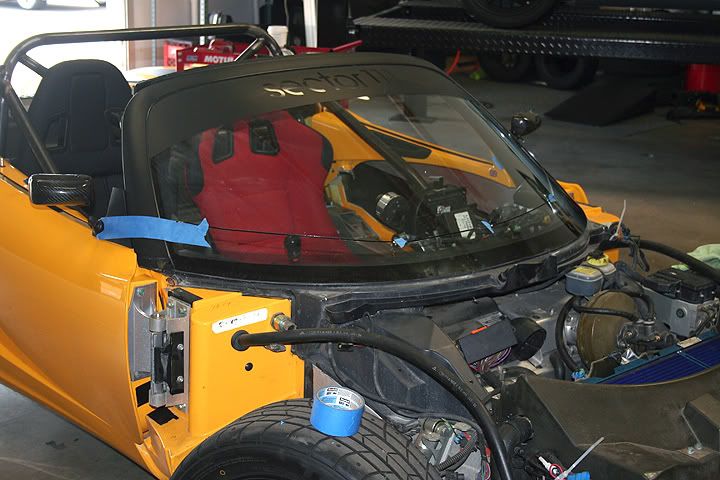
At the beginning of our blog, we showed pictures of different cars that inspired this project. One thing that all the cars had in common was their lack of a windshield. This car isn’t going to be a 200mph top end car. It doesn’t have the greatest climate control known to man. So is there really a need for a full size windshield? We certainly didn’t feel there was, so off it went. Removal was a several stage process. Before we could begin, we wanted to take some measurements from the stock windshield to see where our cut down wind kick should be trimmed to.
With that squared away it was time to remove the glass.
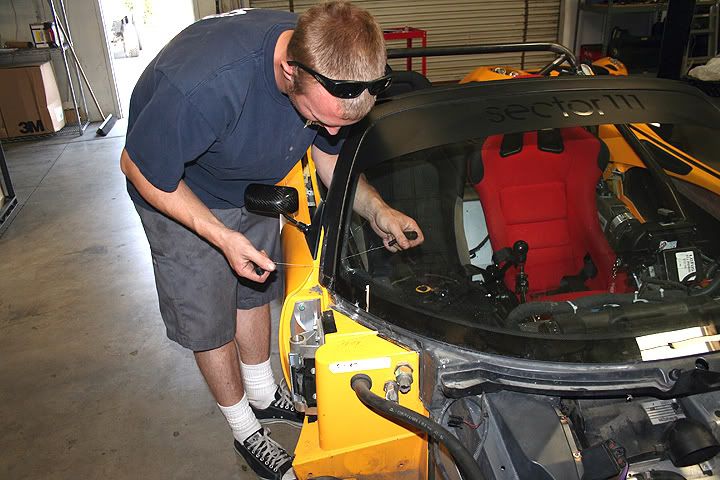
The next step was the big one. Cutting the windshield frame is almost irreversible so we started off with a small saw to try and be precise.
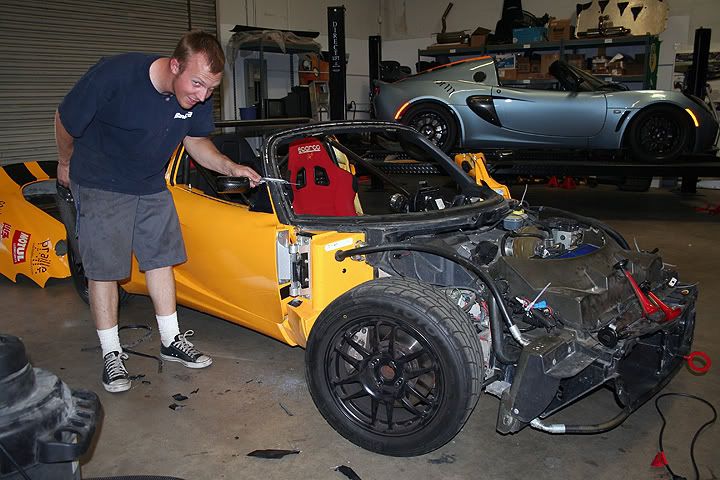
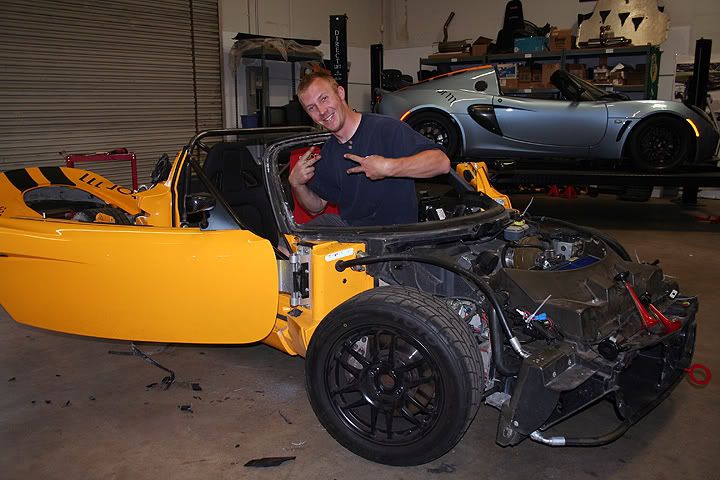
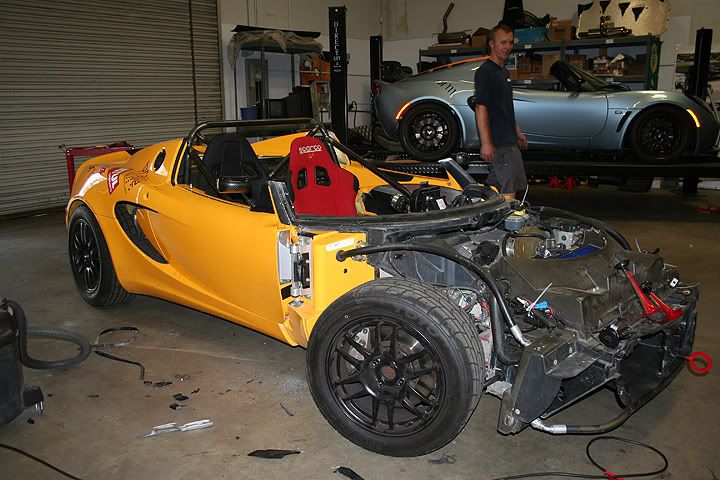
Unfortunately we need this car done for LOG27 not LOG127 so we brought out the big guns.And minutes later…
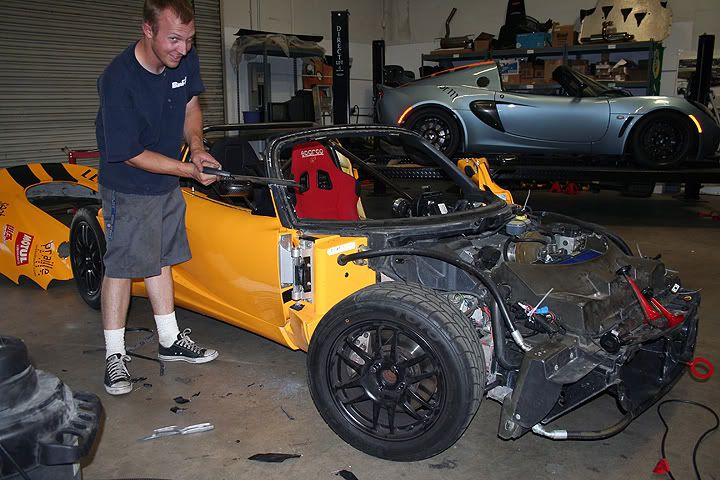
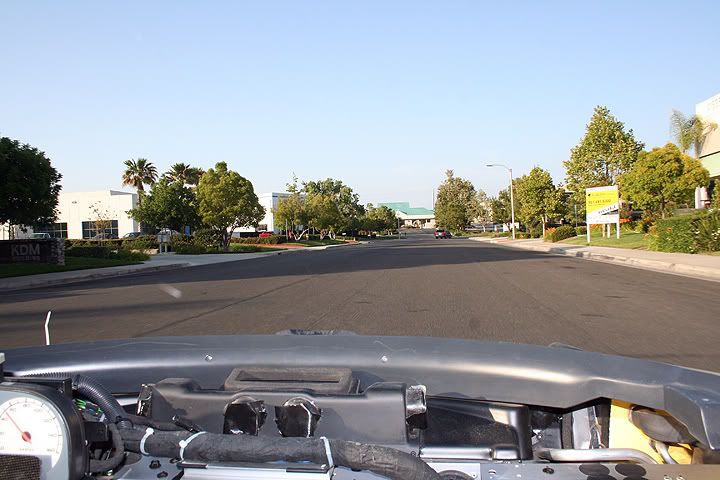
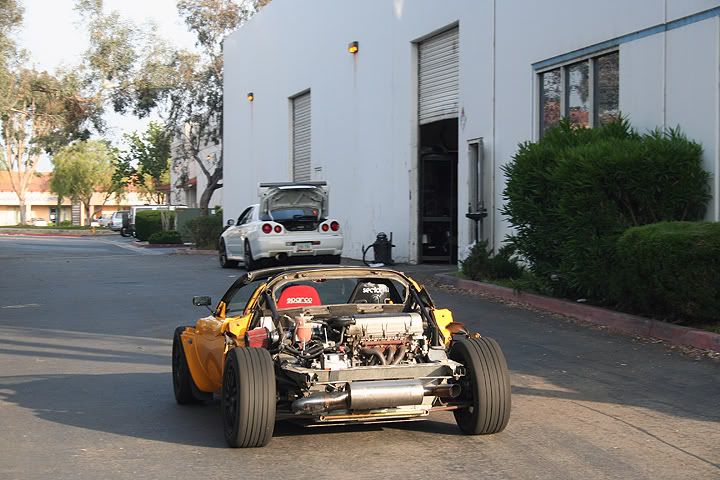
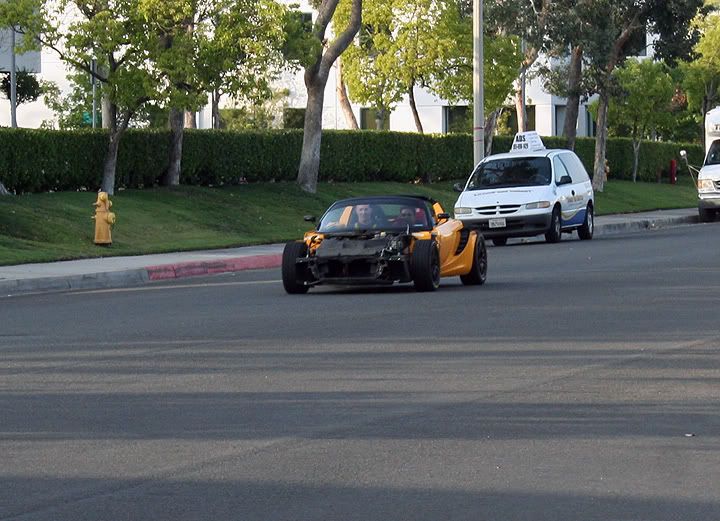
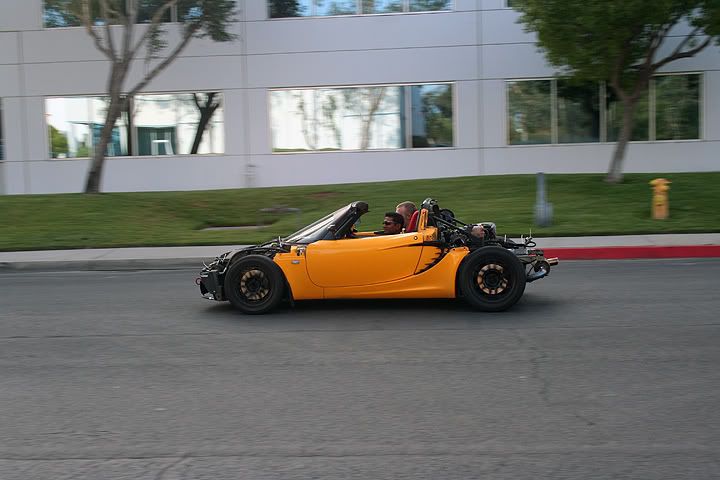
With the windshield gone, the next step was a no brainer. It’s time for another test drive!
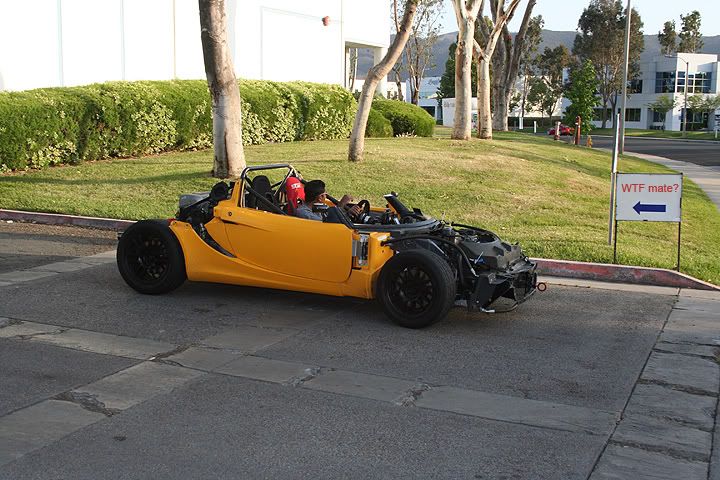
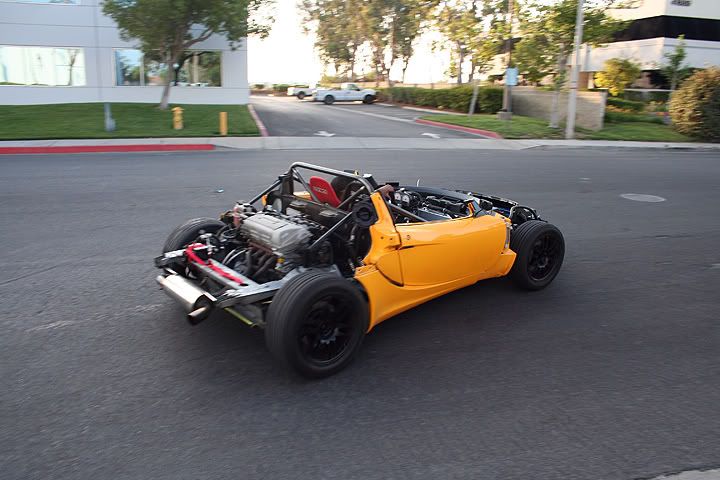
The view with no windshield is incredible!

With the old windshield off, all we need is to have the new wind kick cut so that we can mount it and trim the rest of the windshield frame down accordingly. Unfortunately, we will have to wait for that. In the mean time, the cage is due for some paint.

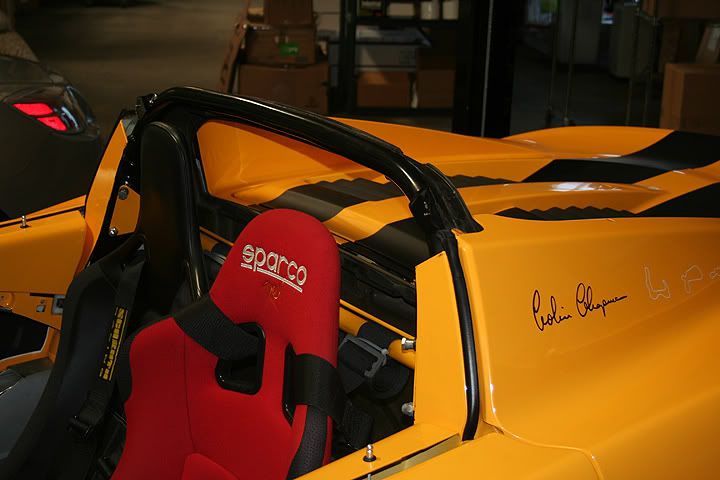
Normally the roll cage of a car is more of a subtle detail rather then a key focus point when it comes to the cosmetics of a car. In this case Burke Built Motorsports did such a good job with the cage that we wanted to paint it a color that would really make it stand out. Once again our passion for motor-sports gave us some inspiration from a place that most people might not have thought to look.
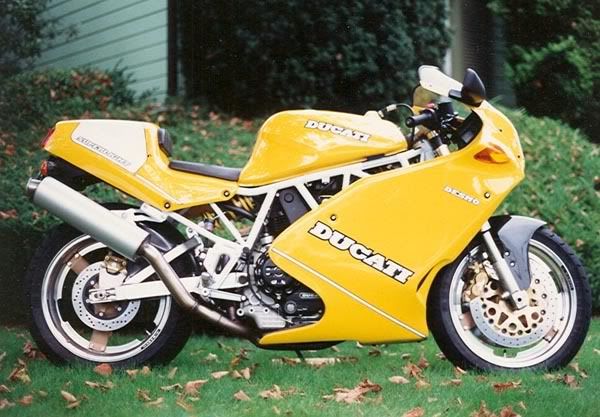


The Ducati Superlight not only has a name that mirrors our project, but it also has a color scheme that is a little out of the ordinary and still looks incredible on both the bike and our Spyder.

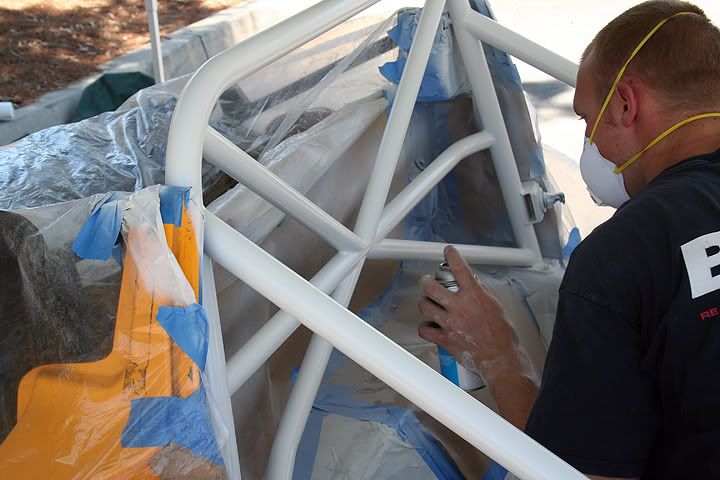
Painting the cage white also made the cage look like a spider web. Every good Spyder needs a web!

Windshield Weight Removed= 28lbs.

Next week we will be working on some down force so that our feather light Spyder doesn’t blow away!

Friday, July 13, 2007

Objective: Custom Cage and Plastic Surgery

After driving the Spyder last week, we were amazed at the added performance we’ve extracted from the car by simply reducing the weight. The next time the car gets a proper flogging, it is going to be scary fast. That means the car is due for a cage that is a little stouter than the one provided from the factory. This new cage is going to be much more visible since a lot of the parts that covered the factory cage have been removed. Lucky for us, one of our engineers happens to be a highly skilled fabricator with a shop of his own. So we loaded the car on the trailer and sent it off to Burke Built Motorsports.


The new cage would be built out of Chromoly which is both a stronger and lighter material than the steal used in the old roll bar.

The pictures show the weight difference in the stock roll bar and the metal used for just the roll bar section of the new cage.

Since we weren’t going to have all the attachments that the old roll bar had, we could save a little more weight by keeping the tubing all the same diameter and leaving out all the unwanted brackets. This also gave the cage a much cleaner look. The last key benefit to the new cage is the additional bracing incorporated into it. With the diagonal cross braces and door/front kicker bars the Spyder now had something a little more suiting.


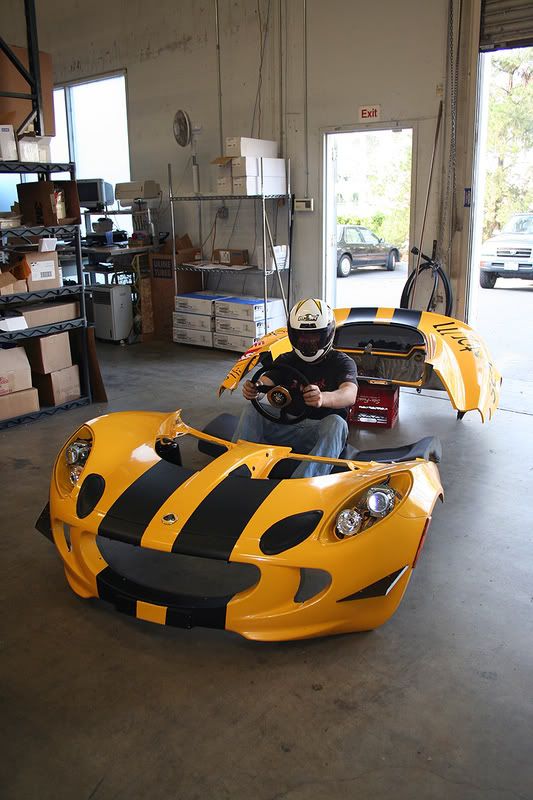
While the car was away, we still had the body to play with. With a little “plastic surgery” we would have a body to better fit the more serious, muscular looking chassis. Going into this project, the goal was to “simplify and add lightness”. This means removing unnecessary luxuries where possible and only replacing them with lighter parts when necessary. On a track car you really don’t need a trunk (Lotus certainly felt the same way with the S1 Motorsport Elise) so that had to go.


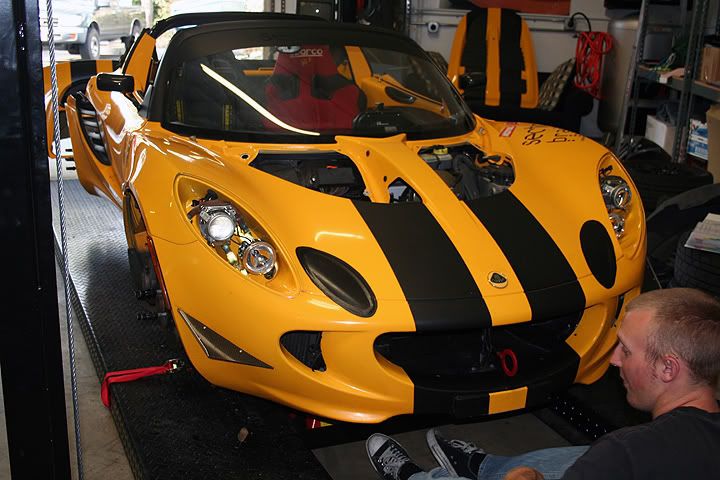
Now we had this big hole in the clam and thought, what better way to take advantage of the situation then to remove more fiberglass? What we ended up with was a spectacular view for any driver who might be following the car on the street or track.


Some where along the road the question of “how do you wash a car with no top” came up? We had to think about that one for a while, but I think our solution is even more efficient than the old traditional way.


The good news is it can be done even though we don’t actually have the car in our possession.

Chromoly Cage = 38lbs.
Stock Roll Bar = 17lbs.

Weight Removed From Clam = 10lbs.
Weight Added By Cage = 21lbs.

Special thanks to our sponsor Burke Built Motorsports! For more information on Burke Built Motorsports, visit their website at: http://www.burkebuilt.net/

Notes: Another short project we undertook while the car was out was filling the stock transmission mounts with Polyurethane. It wasn't that difficult to do since the car was already on the lift with the clams off. It resulted in much better response and less engine movement for a very low cost.


Thursday, July 5, 2007

Objective: Button Relocation and AC Removal 2

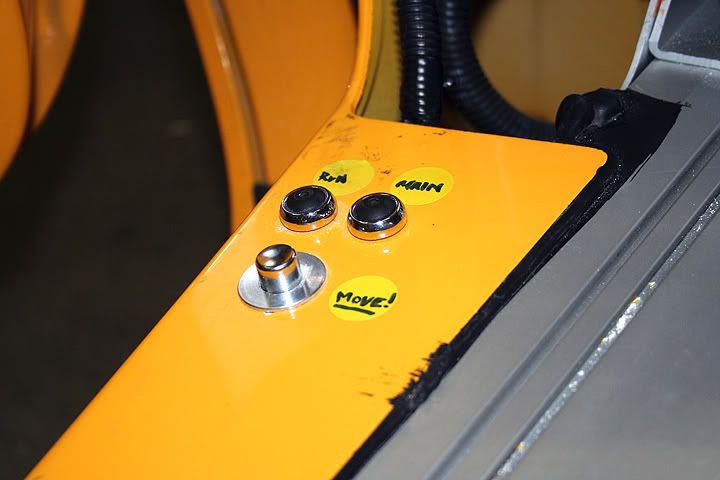
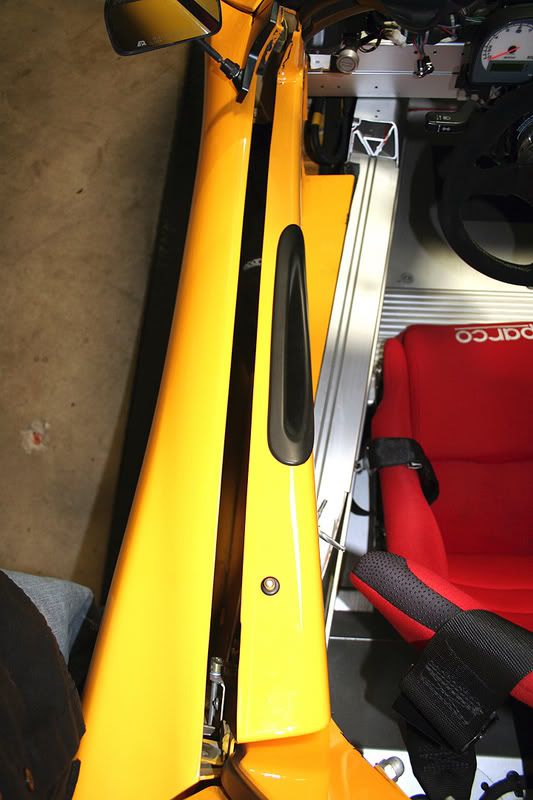
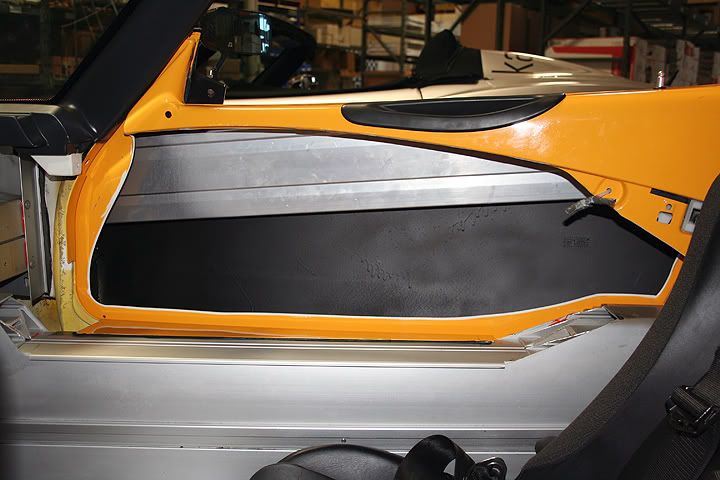
Since the removal of the dash, we had a few loose buttons to secure. The more we take out of the car, the simpler things seem. By removing the plastic side sill cover we revealed the perfect location for our lights and horn button.
Since we labeled the new horn button “Move!” we needed a horn that was a little more motivating for other drivers. A dual trumpet air horn set up should do the trick.

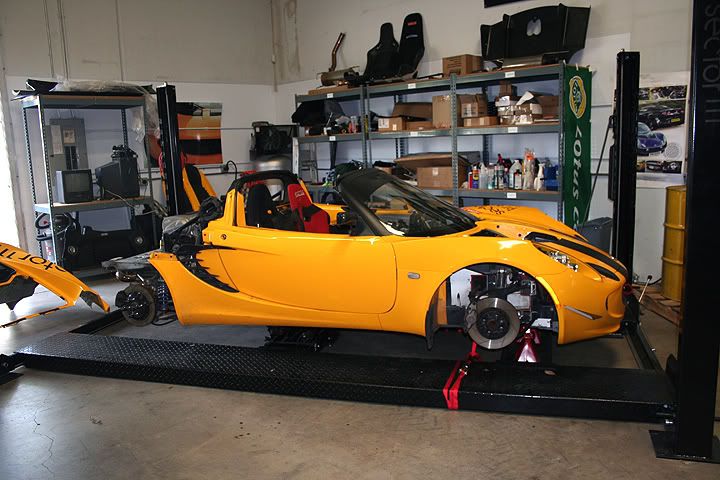
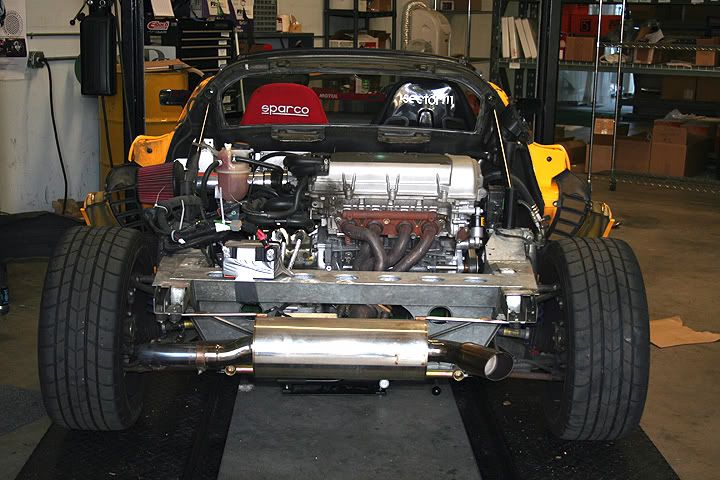
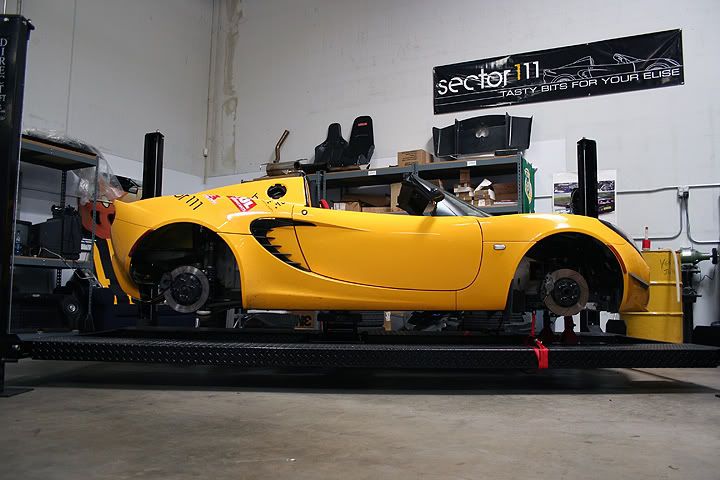
Next on our list was the removal of the AC compressor. Since we will need to remove the clams for the cage to be made, this seemed like as good a time as any to pull them back off and give ourselves a little more room to get the AC compressor out.

With the compressor out, and the new belt in place, we had to go for a test drive. So we put the wheels back on…

And took the car out for a spin…While Neil finished up some testing, I did some driving of my own!

AC Removal Stage 2 Weight Savings: 26 lbs.

Next week the car gets sent over to Burke Built Motorsports to have a custom cage put in and Neil and I get creative on ways to work on the car with out actually having the car.

Thursday, June 28, 2007

Objective: Tasty Bits.

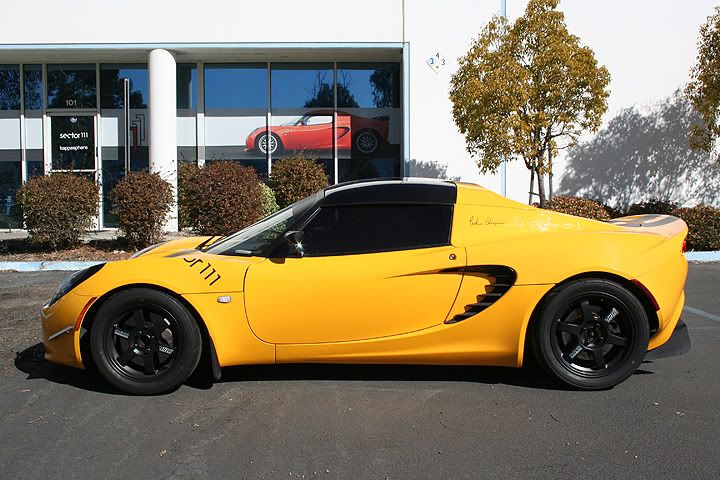
Every cool car out there has at least a couple sweet parts. Lamborghinis have their vertical doors and crazy paint and wheels. BMWs have their “Angle Eyes” and SMG. The S class Mercedes always comes up with new firsts in the industry. The S111 Spyder already has a lot going for it. No windshield, exposed roll bar, and the huge rear wing all set the car apart from the rest. But that wasn’t enough.

One item that had not been sorted out yet was the wheels. Our current TE37s are light, strong, and look hard core.
Anyone who is familiar with good JDM tuning knows that if a car has TEs, they generally aren’t messing around. But the offsets were not quite right and they required things like spacers and hub-centric rings to fit the car. There are several options out there for 16 and 17 inch wheels, but a good set of 15/16 inch wheels are more difficult to come by. As usual, Sector 111 had the solution.
Not only were the SJ Racing wheels made specifically for the car, but they were a step up because of the increased track and contact patch. We were also able to keep the 15/16 inch size that Neil desired.
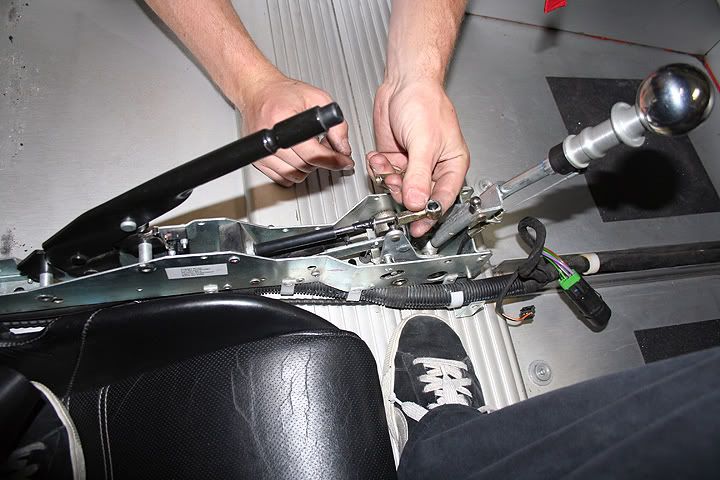
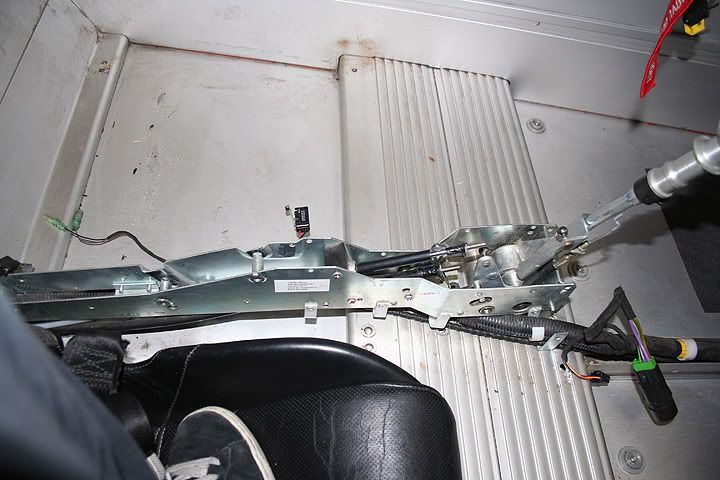
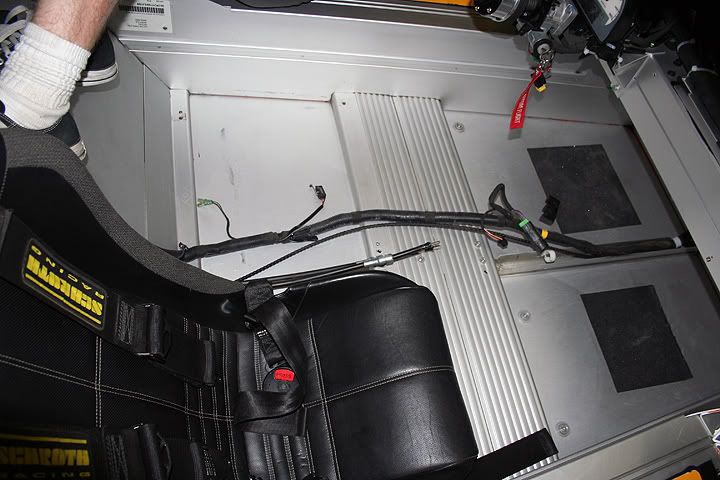
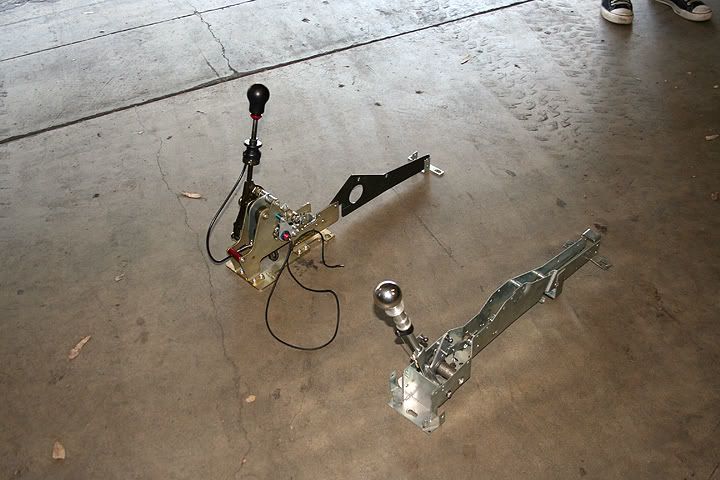
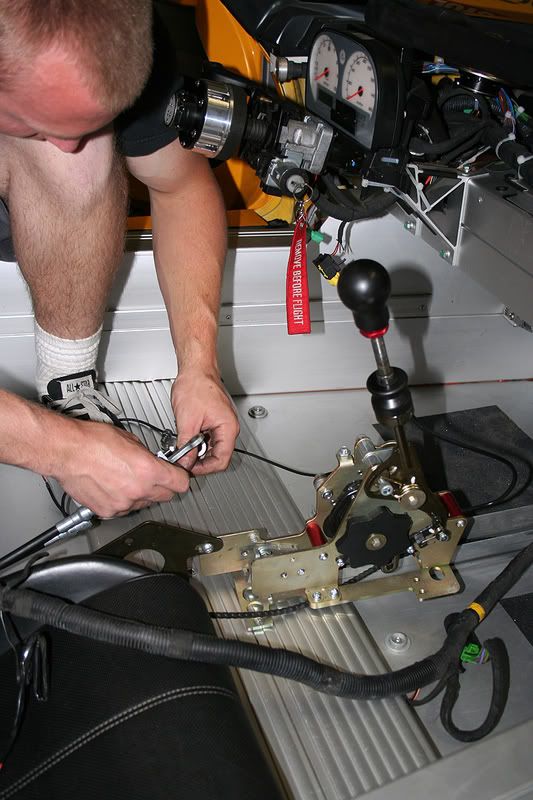
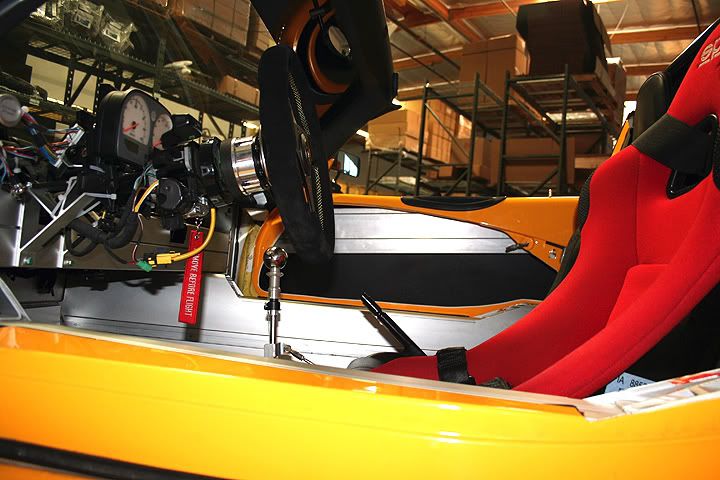
Sector 111 also supplied the car with the very cool Ikeya Formula Sequential Shifter. I must admit that this seemed like a bit of a toy when I first saw it. Maybe it is, but after installing the Ikeya Shifter, the entire driving experience changes. Not only is this car going to look like a hard core race car, but it feels like it too! Even just driving around town made me feel like I was cruising the streets in a full fledged race car. While the end result is great, the install to get there was a little more difficult.
This was one of the most difficult steps of the project. It required a lot of patience and careful observation of the instructions. Luckily we had two heads to put this one together. The install itself took a day. It might have been shorter but we had to chase down some parts and tools. By mid morning of the following day the car was back on the road. Despite the constant tweaks that had to be made and still need to be made while we fine tune it, I would say the shifter was well worth the effort.
New Wheel Weights: 11 lbs. (Each front) 14.5 lbs. (Each rear)
Added weight for Ikeya Shifter: 3.55 lbs.
Next week we’ll have a little fun pushing buttons and shed some more weight by removing the AC compressor.

Friday, June 22, 2007

Objective: Window Removal and Clean Up

Since we have plans on removing the windshield, we will have no need for the side or rear windows. Removing the side windows was easy enough and had a nice bit of savings, but the back window was a different story. While I was tackling that Neil had some clean up to do. Eight hours later I had the back window out. In order to achieve this I had to remove the roll bar cover as well. No sense in putting it back on seeing as there would be no windshield and the only real function of the cover was to hold the top on. While we were at it, we decided to remove a few more little things for some extra weight savings. Some say we went over board, but I think not!The finished product was great and got everyone excited to do more!

Side Window Weight Savings: 34 lbs.
Rear Window Weight Savings: 3 lbs.
Roll Bar Cover Weight Savings: 7 lbs.
Key Weight Savings: 52.3 lbs.


Next week we are going to get some new wheels from Sector 111 and an Ikea Formula Sequential Shifter!

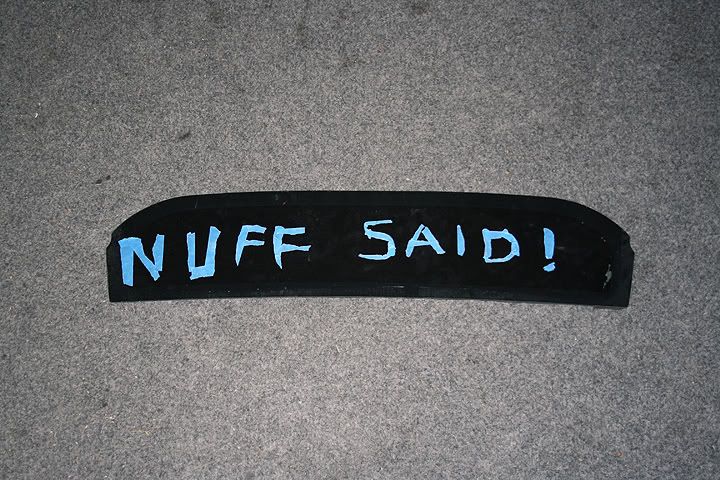
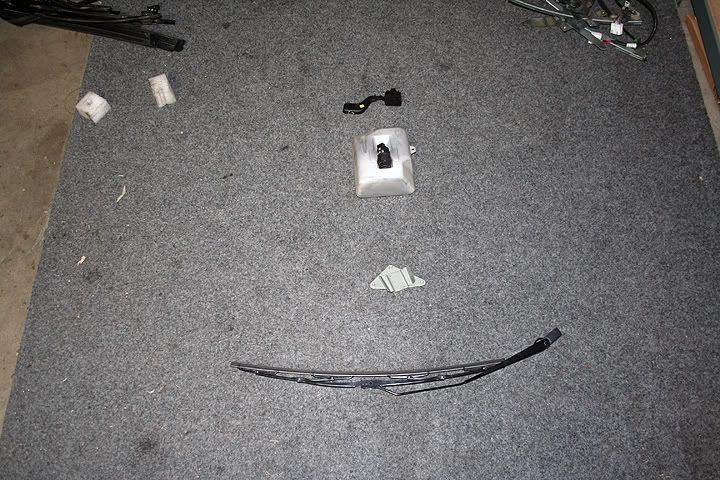
Notes: Since the start of the project, we get people asking what we do with the spare parts. Neil and I both have artistic backgrounds and sometimes our creativity gets the best of us.